Contents
Choosing a style for a wedding is not always easy. There are a thousand questions regarding which dress to choose, which bridal makeup to make, and which hairstyle to emphasize the look. The bride thinks over all these questions for a very long time and carefully, since each girl dreams of being the most stunning at her wedding. Sometimes the ideal style lacks a twist that could emphasize your tenderness and sophistication.
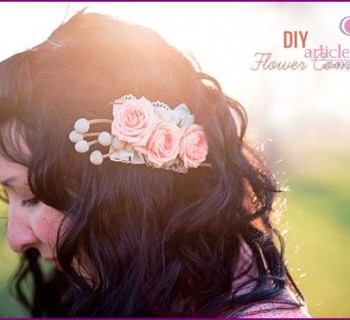
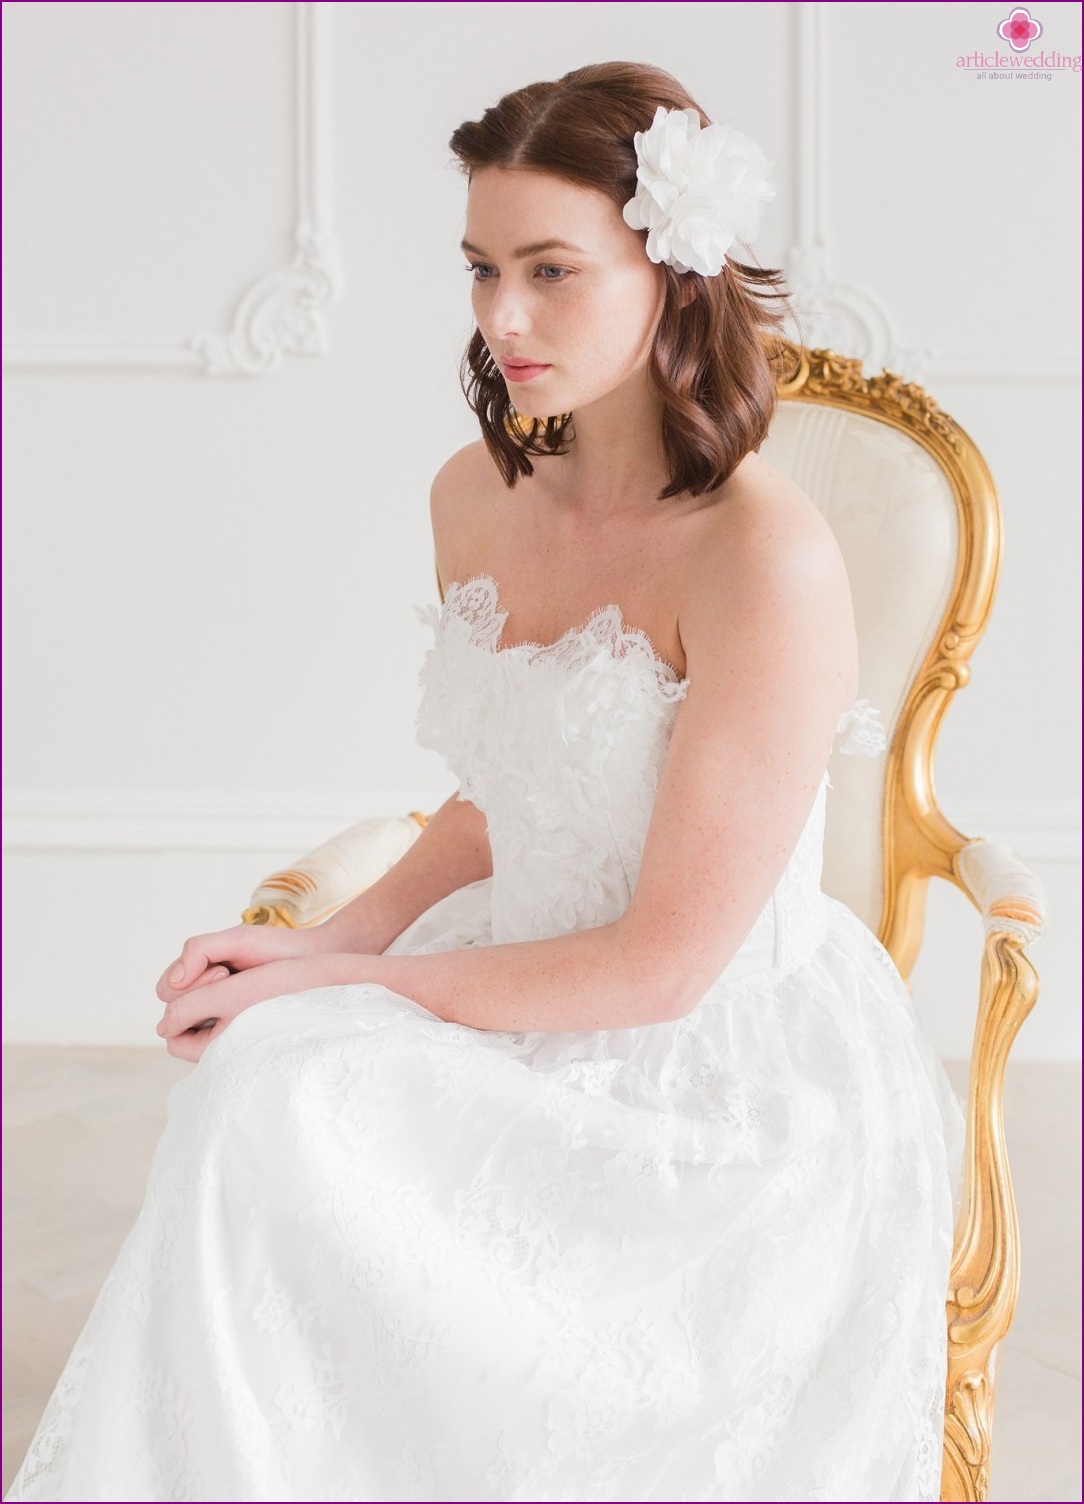
The site www.articlewedding.com invites you to make an amazing hair accessory with your own hand, which will become a bright accent of your wedding hairstyle. A wonderful flower flower is very similar to a real one. To make such a cute hairpin, you need less than an hour, for how much you get positive emotions! And most importantly, you will not only create a unique accessory that you will not buy in the store, but also save money, since wedding jewelry and jewelry are very expensive. Well, let's try to make a miracle hairpin together?
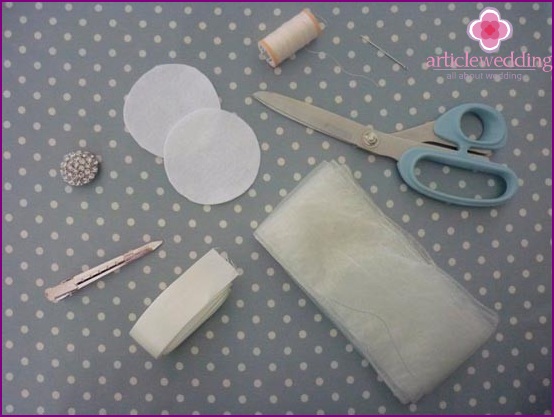
Materials and tools:
- 2 meters of organza ribbon;
- 2 meters satin ribbon;
- 2 circles of felt (6.5 cm in diameter);
- beautiful button with rhinestones;
- metal hair clip (in the form of tongs);
- thread and needle;
- scissors.
Time
: 30-40 minutes.
Detailed instructions:
Why buy hairpins in the store, if you can independently make a wonderful, and most importantly, an original hairpin that will no doubt add charm and sophistication to the image of the bride! Prepare tapes and all the necessary materials and start creative work.
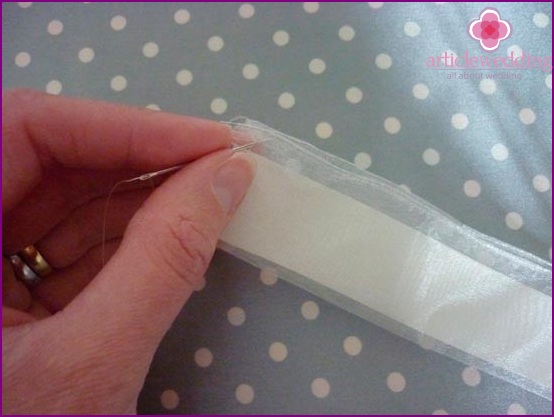
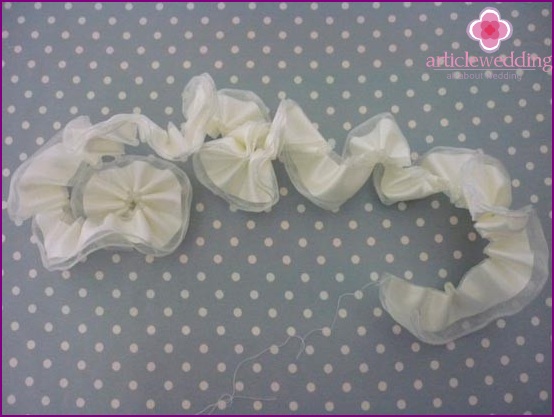
At the beginning of the work, take a ribbon of organza and fold it in half so as to connect the two ends. Place a satin ribbon between the two sides of the organza ribbon.

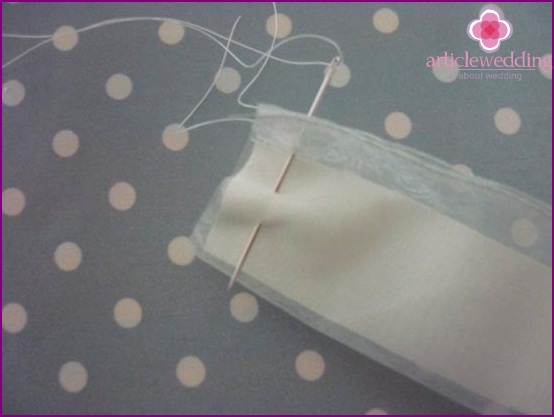
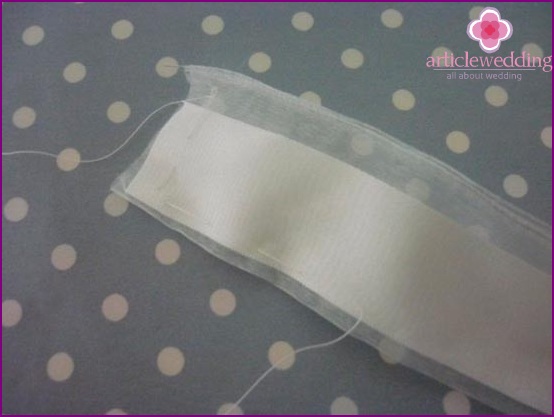
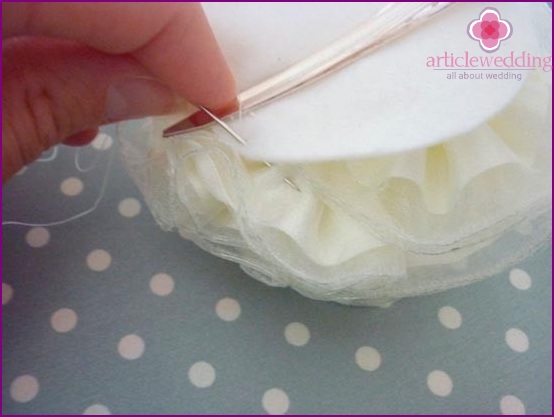
Next, you need to tightly fix the ends of the ribbons. Pull the thread into the needle and sew a few stitches to connect the edges of the ribbon. Next, start making stitches along the edge of the ribbons. It is best to draw a long thread so that you have enough per meter tape.
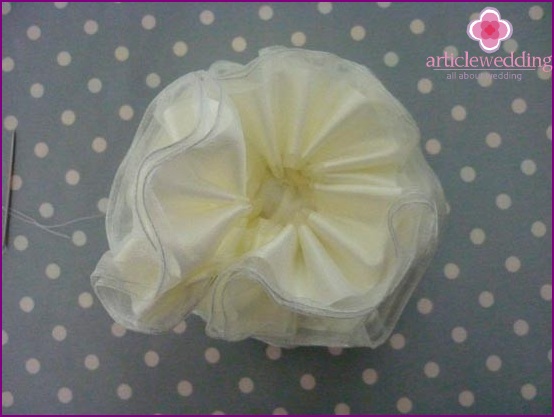
After you have done all the stitches on your ribbons, it is necessary to form an accordion from the ribbon. To do this, press one edge of the tape tightly, and from the other, take the thread and pull. The tape forms beautiful folds. Now you can make the final knot on the thread and cut off the excess.

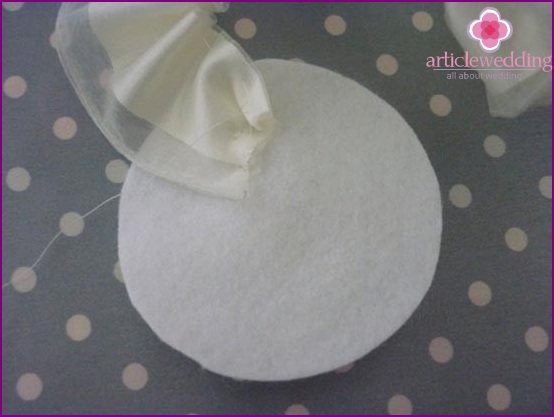
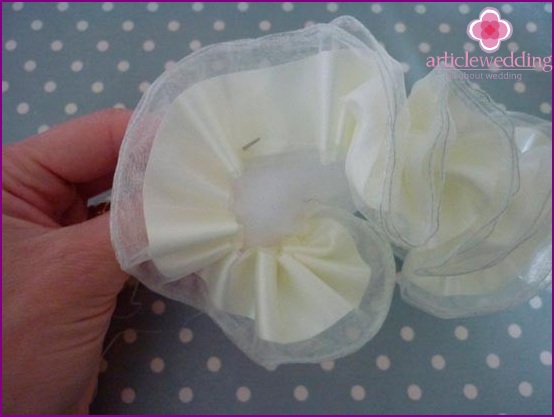
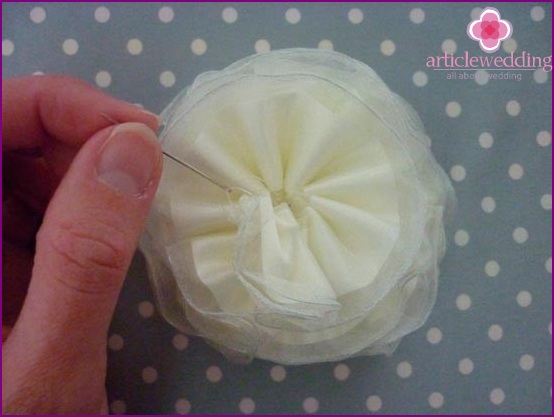
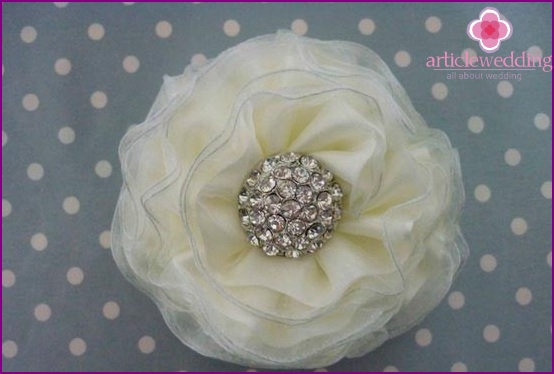
Take a circle of felt and sew the edge of the ribbon to it. Start sewing the tape in a circle from the inside, forming the shape of a flower. After you make the first layer of the flower, continue the second and third layer until the ribbon runs out. Just sew the edge of the tape to the felt, one by one in a circle. You should get a cute flower. The last layer should cover the core of the flower.
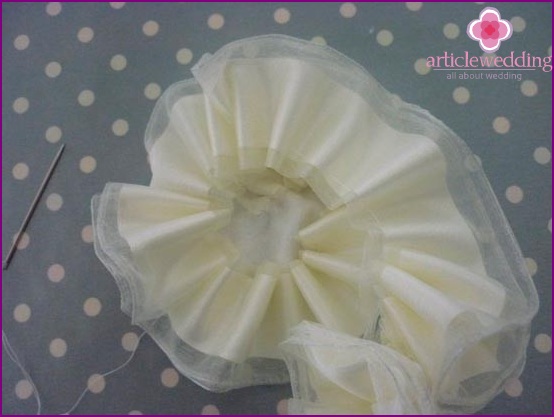
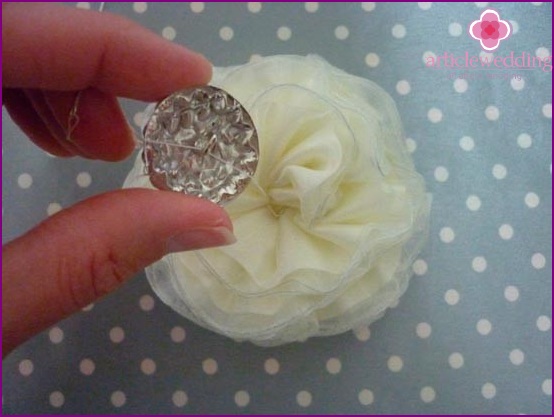
Sew a beautiful button to the center of the resulting flower, which will close the bumps and stitches on the ribbon.
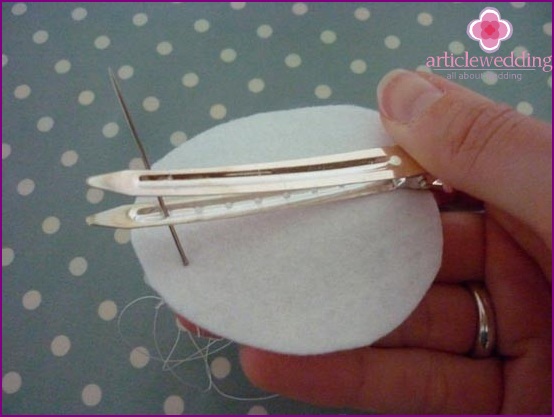
Now sew the second piece of felt to the metal barrette. And finally, sew your flower to the hairpin. This will help a lot of pieces of felt, which are very simple to sew together. A stunning decorative hair clip for a wedding hairstyle is ready!
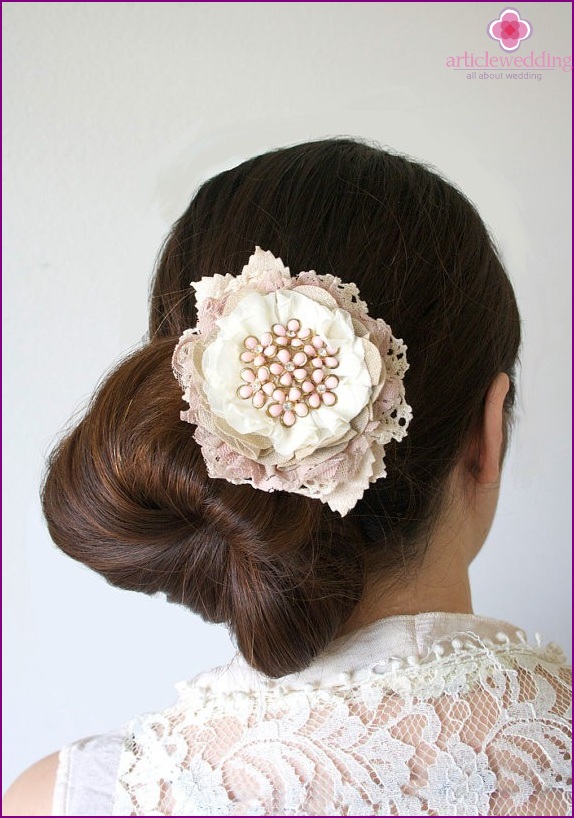
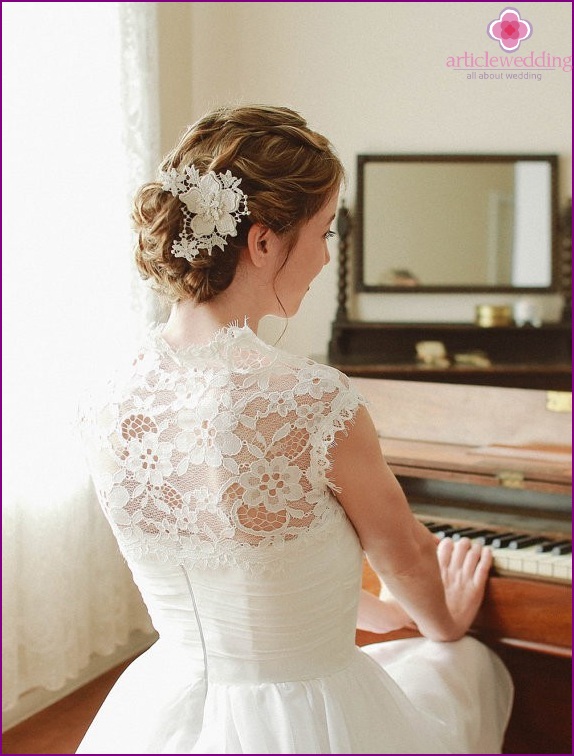
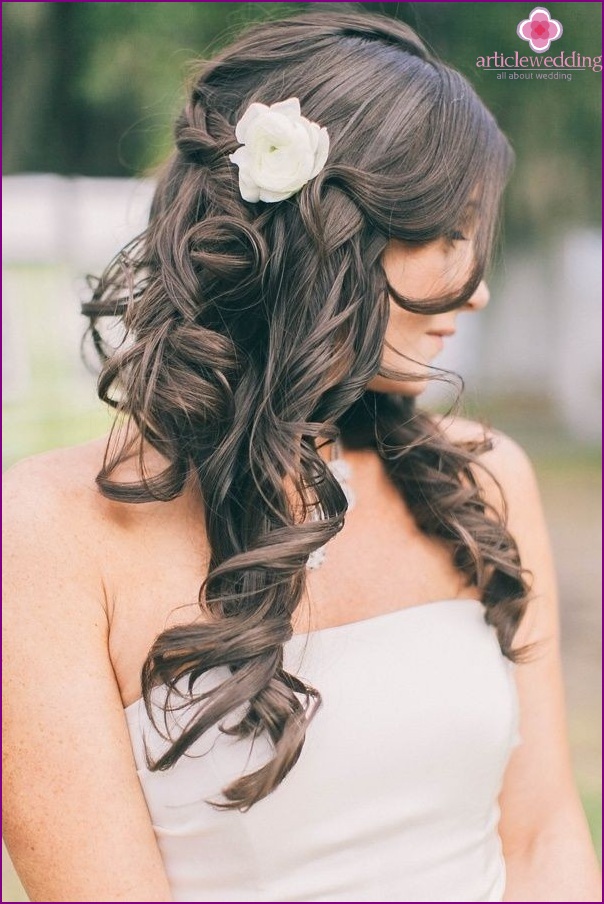
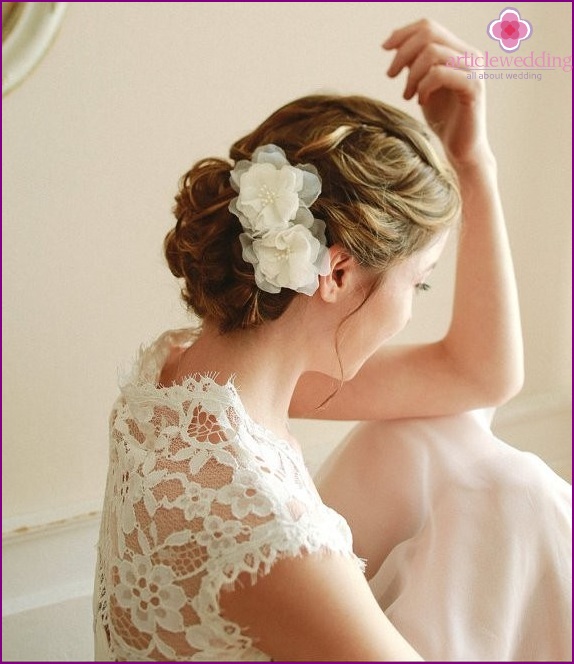
Application options
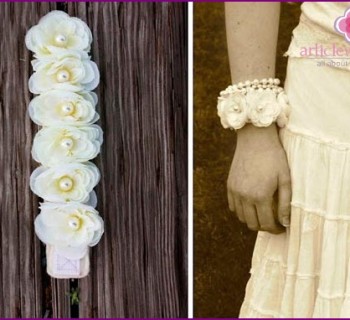
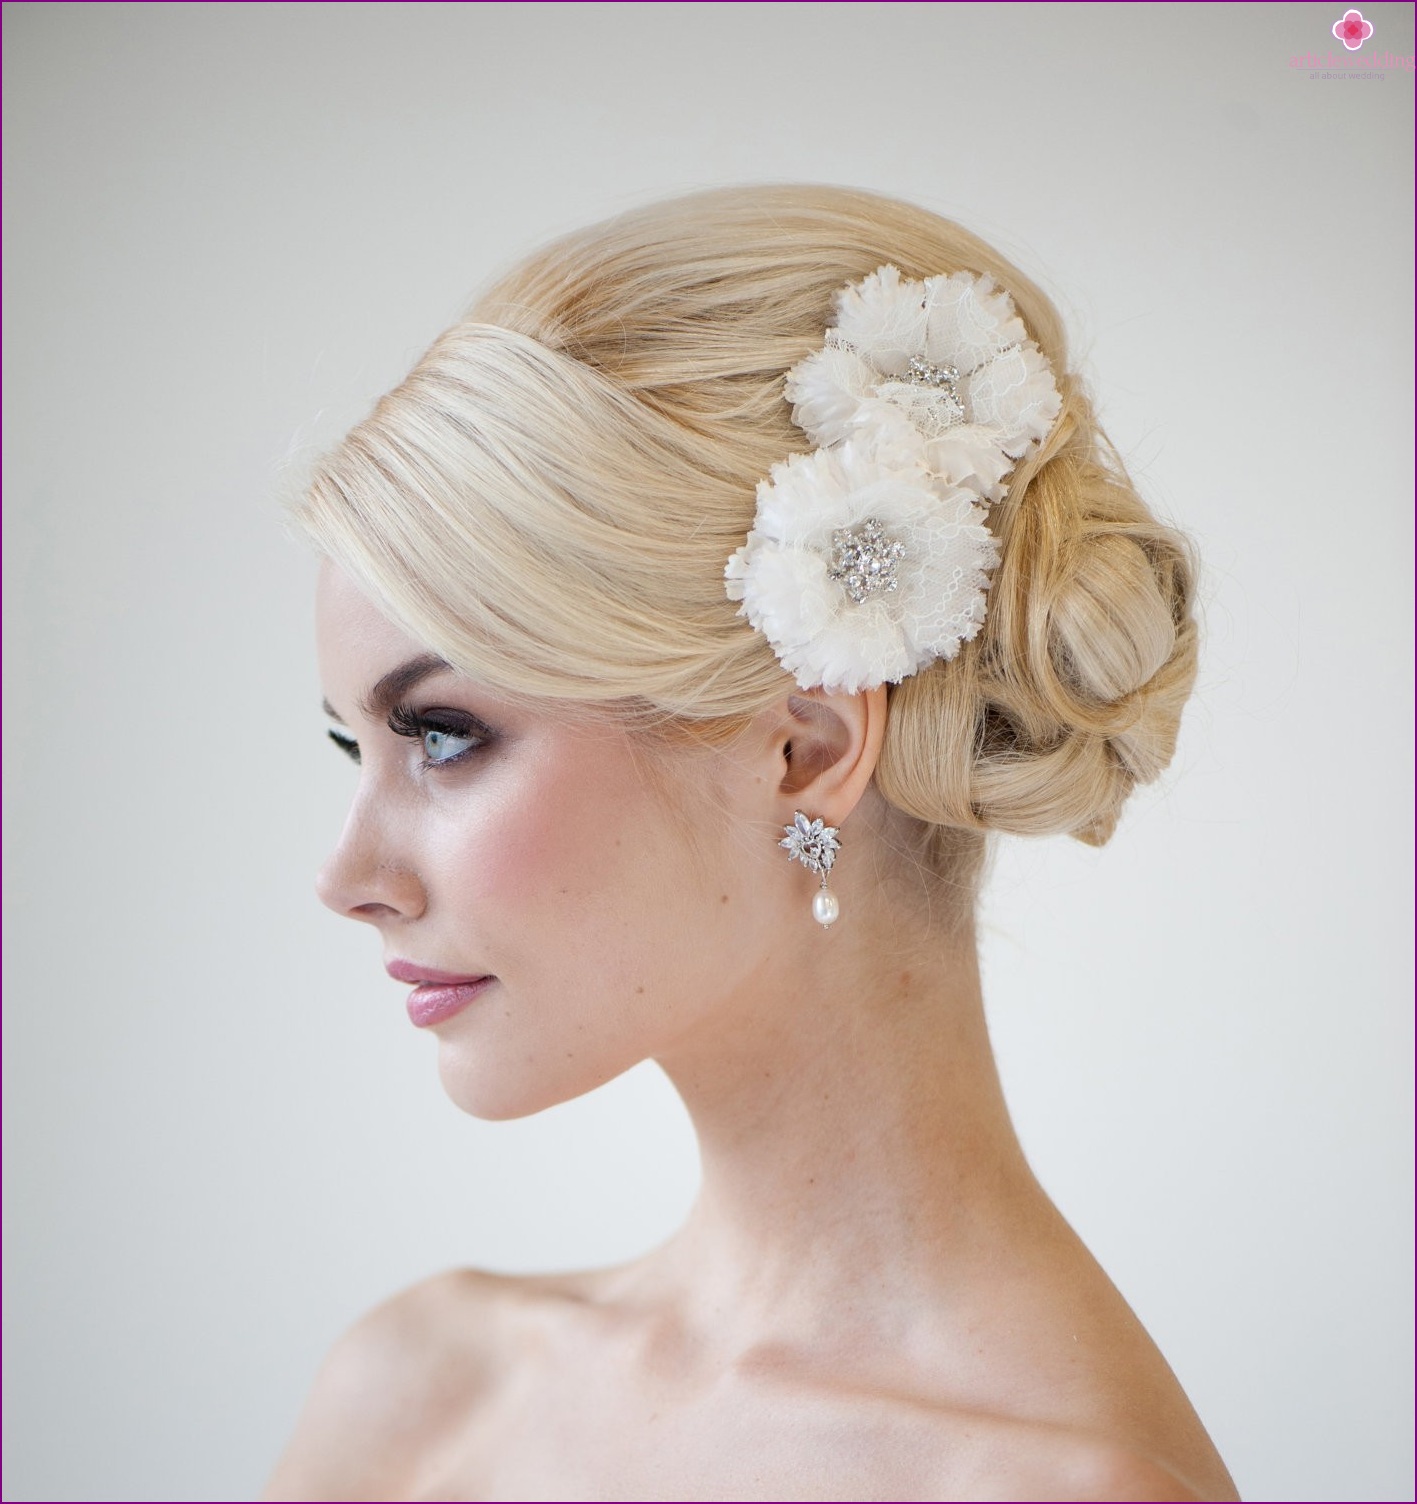
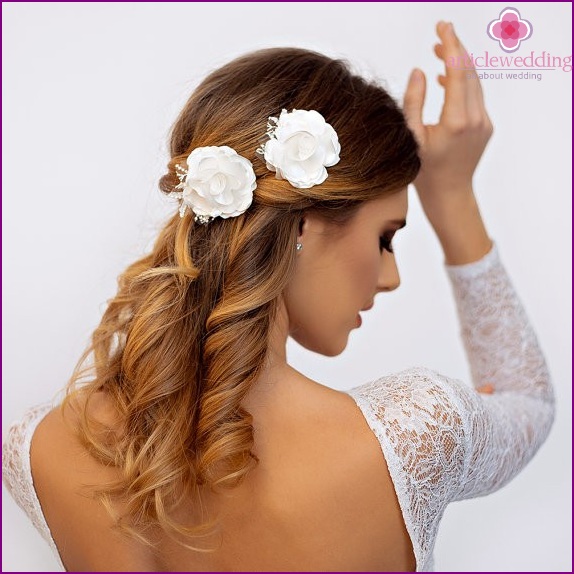
Gently clip the hairpin to emphasize the beauty of the hairstyle! The advantage of this decoration is that it can be used several times, not only for weddings. Now you have a great highlight that will make your style even more interesting.!
The wedding portal www.articlewedding.com hopes that you can easily cope with this master class. Connect your friends and start a fun creative process!