Contents
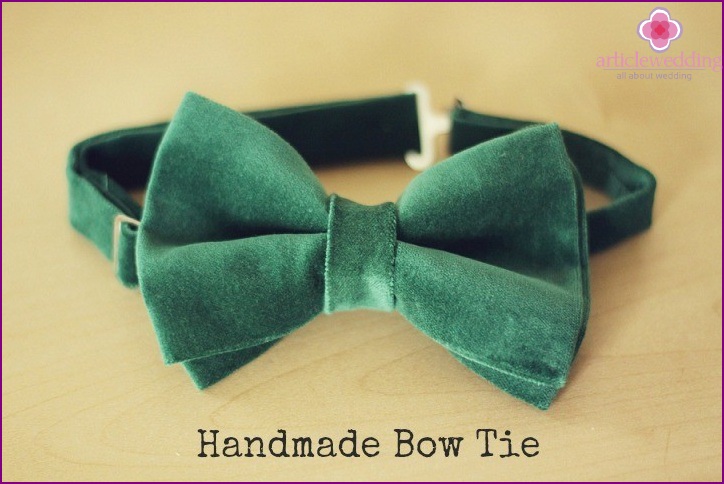
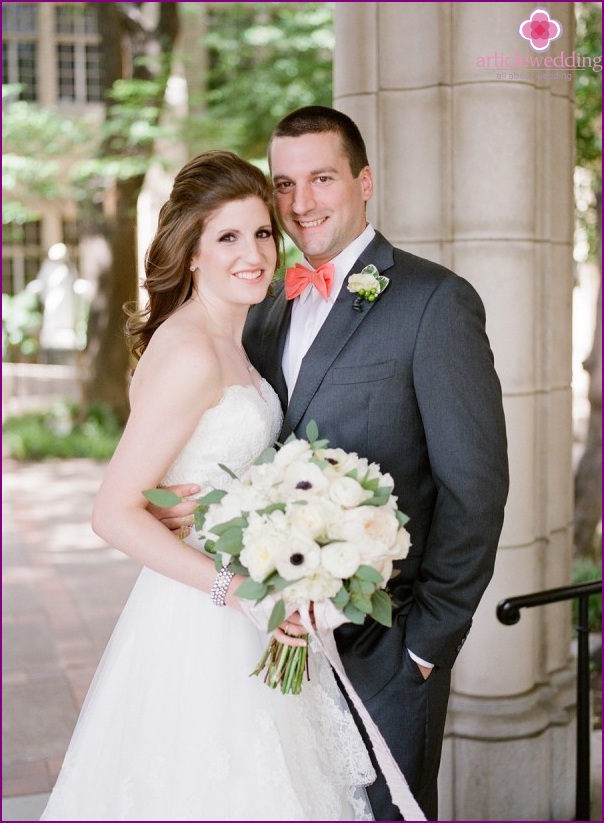
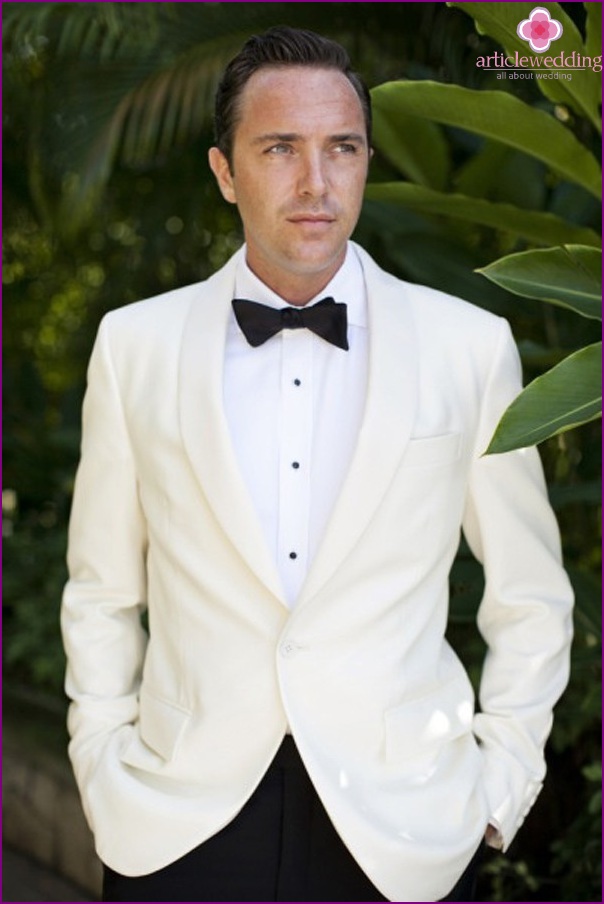
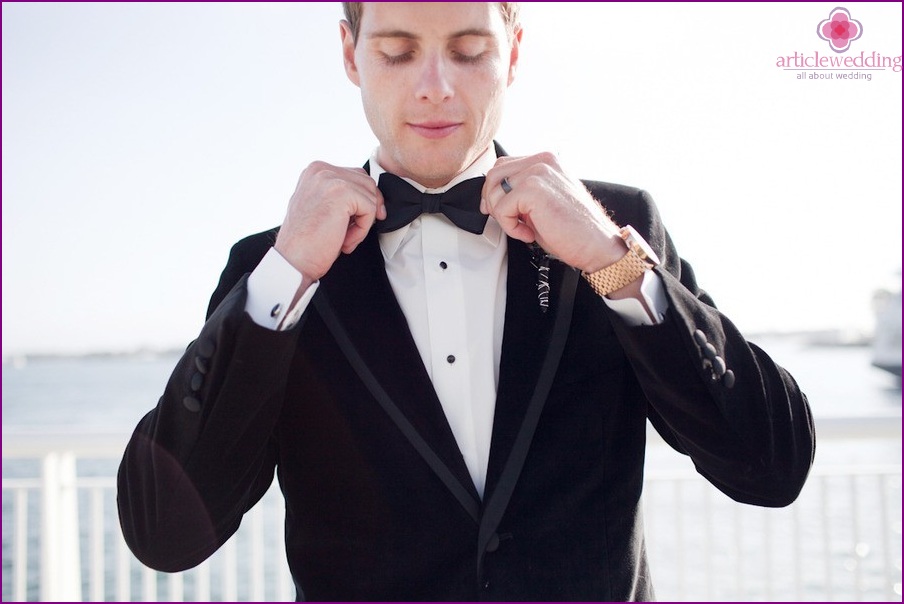
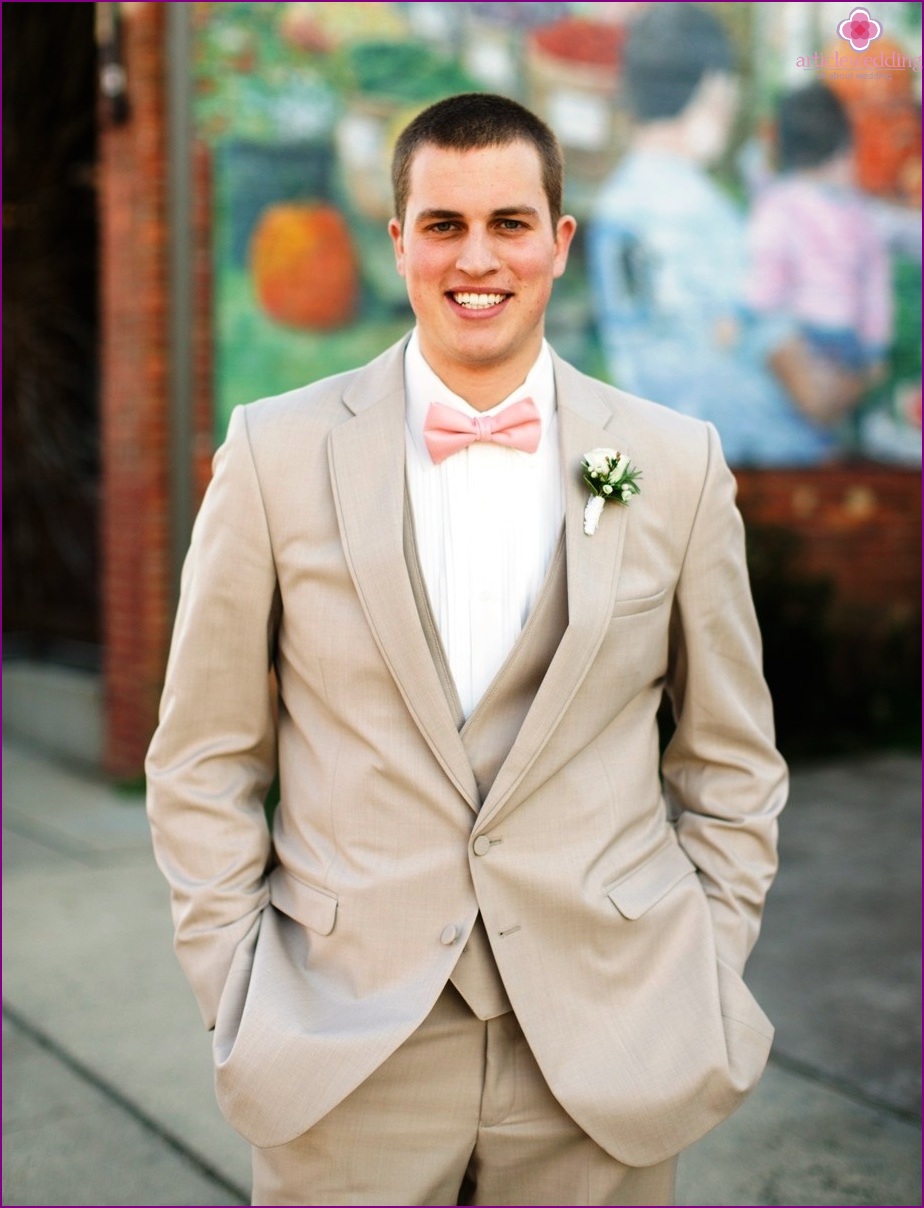
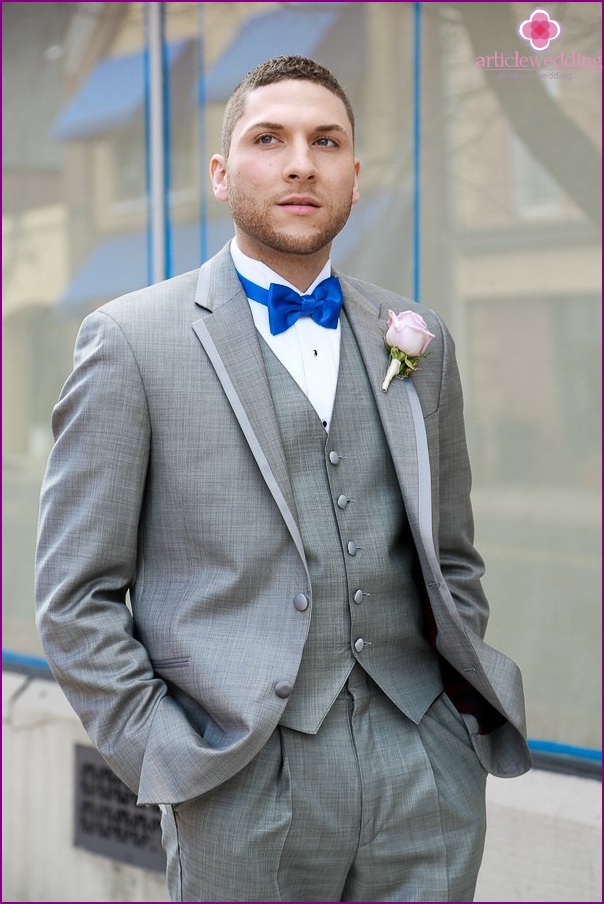
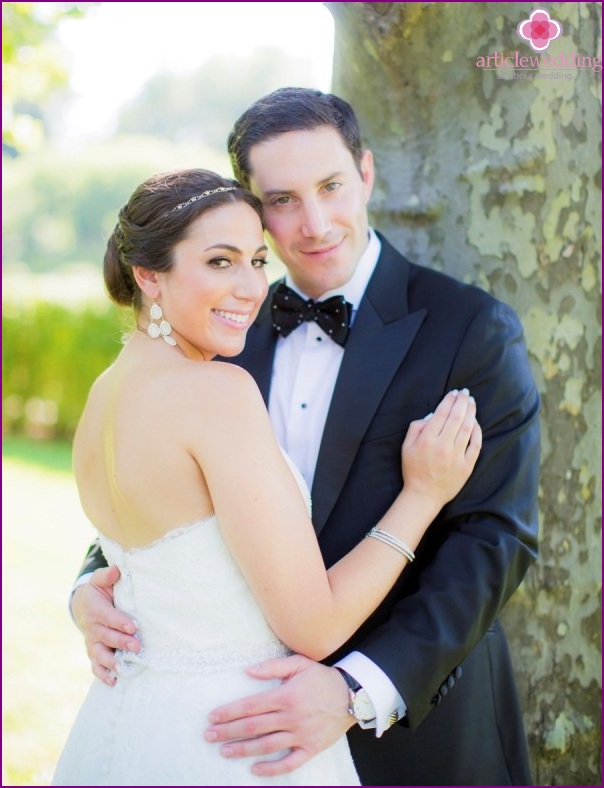
For a strict wedding suit, the groom can choose an original accessory - a stylish bow tie that will complement his charismatic image. A bow tie will help transform the image of the groom, giving him charm and personality.
For your groom to have the most trendy butterfly, the portal www.articlewedding.com has prepared a very simple workshop for you with which you can make a stylish butterfly for your future husband.
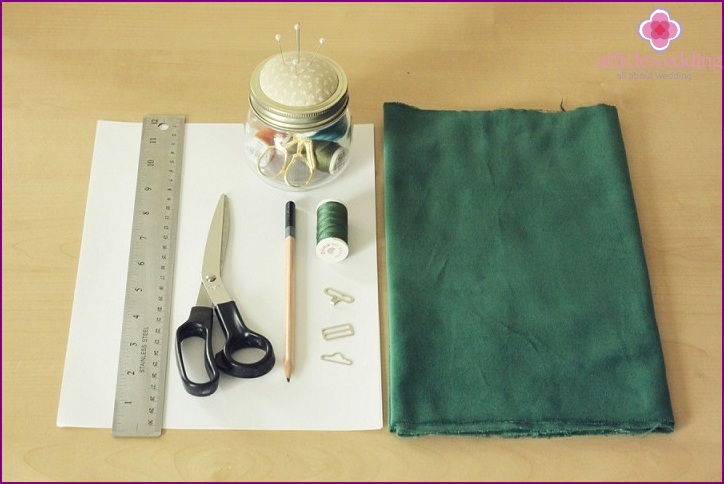
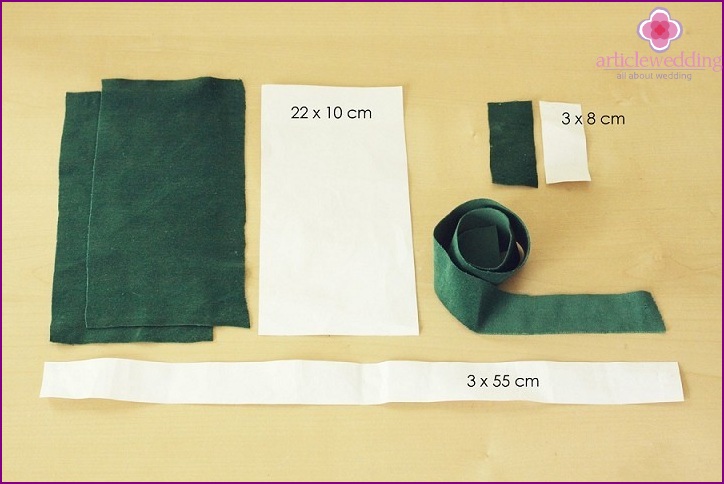
Materials and tools:
- fabric of any color and texture (e.g. green velvet);
- set of clasps for butterflies (3 parts);
- scissors;
- stationery pins;
- needle for sewing;
- threads (for the color of the fabric);
- template paper;
- pencil;
- ruler.
Time:
about 2 hours.
Detailed instructions:
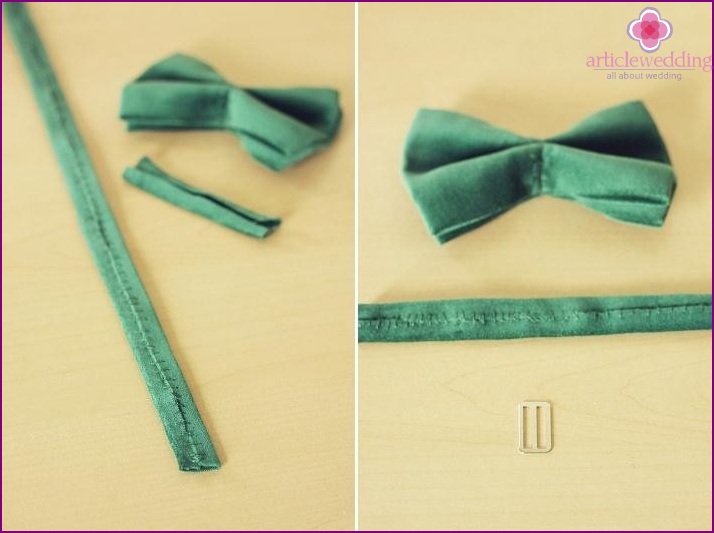
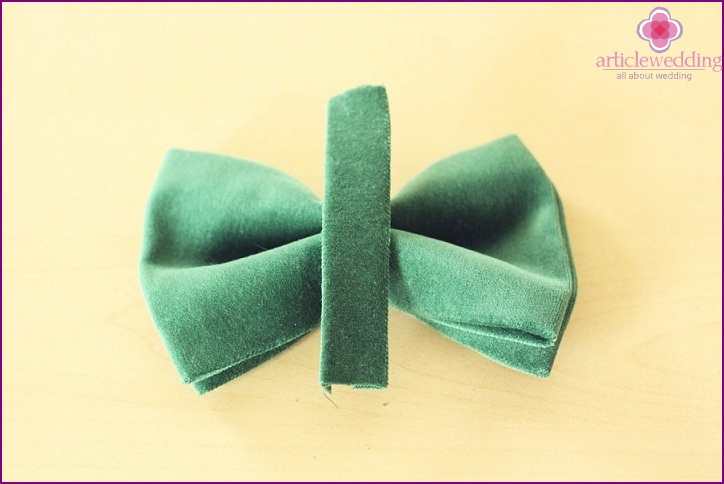
First of all, you have to cut out patterns from paper. You will need two pieces of fabric to create a bow, which consists of two parts, and one piece of fabric - to make a tie and a core.
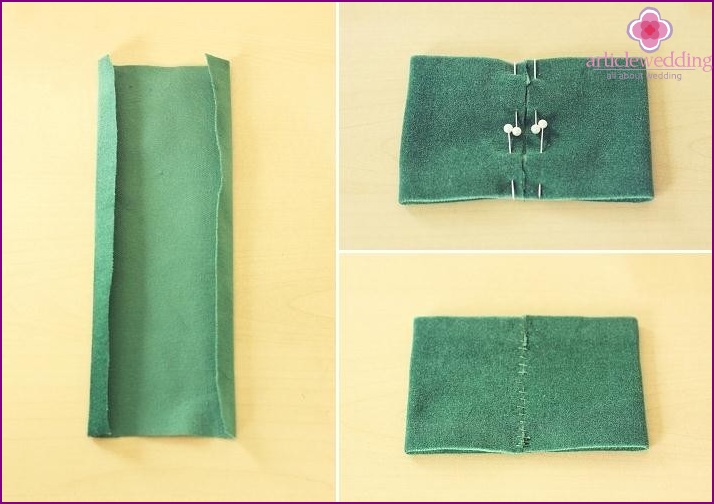
Get started with pieces of fabric designed for the bow. Take one half of the fabric and lay it face down. Fold the outer long edges of the fabric one centimeter. Then connect the short edges of the product and secure them with pins. Use the ruler during operation to make sure that the sides are equal. After that, sew the edges. Repeat all these steps to create a second bow..
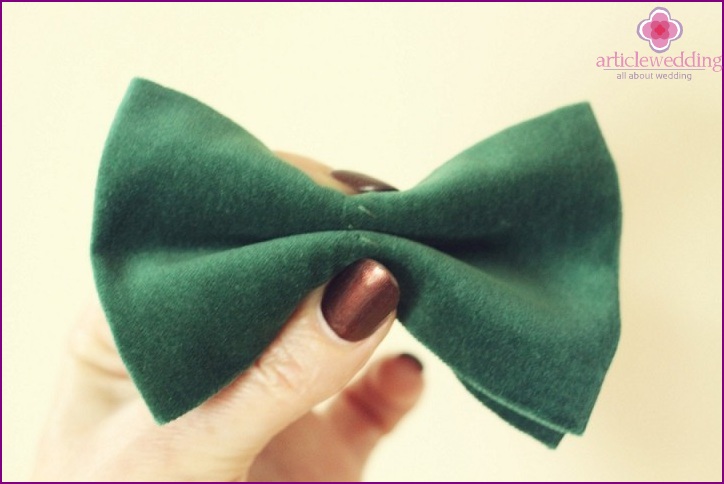
Now you need to connect both bows together. Place one part of the bow on the second. Fold and secure with pins. Then gently line the center of the product..
Next, take the part of the fabric that will serve as the strap for the bow tie. Tuck the long edges inward (remember to place the fabric face down). Iron the edges if necessary. Repeat for the remaining small part..
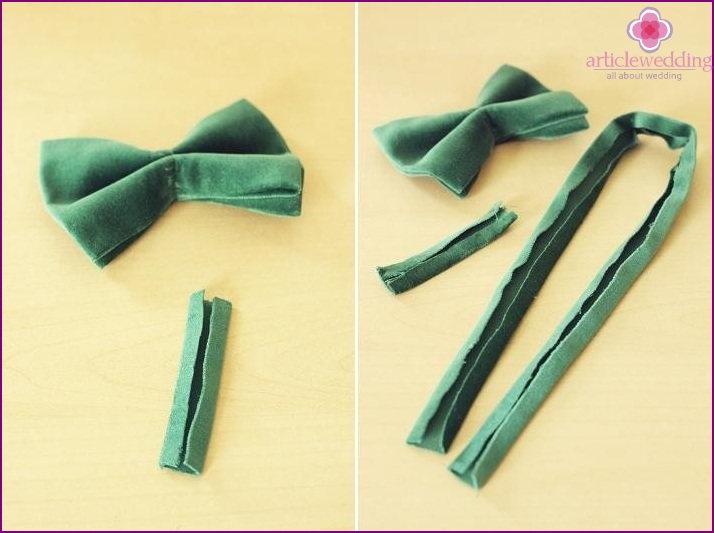
Now sew the strap in the center. After that, take the clasp-adjuster and attach it to the strap.
Pull the strap through the hole on the adjusting clasp. Sew the edge of the product through the clasp to the strap.
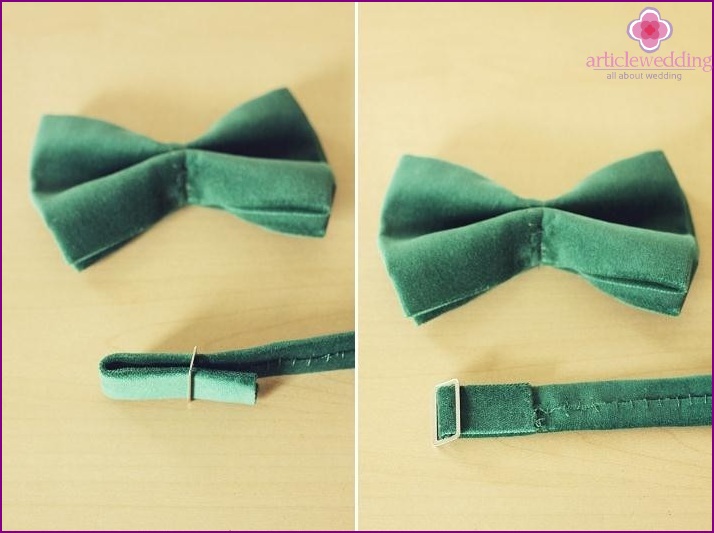
Put on the part of the clasp that comes with the hook on the other end of the strap. The same edge of the strap now needs to be threaded through the hole of the fastener-adjuster.
String the third part of the clasp onto the remaining end of the strap. Sew the end to the tape.
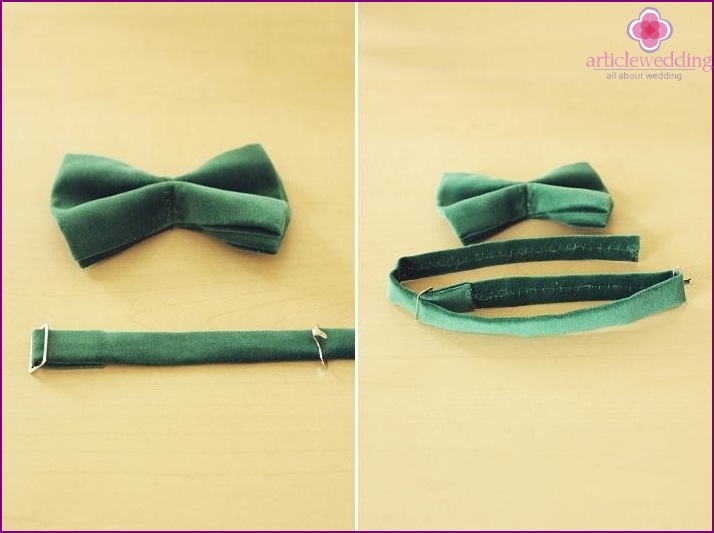
Now take the middle part of the bow tie and center it on the bow tie.
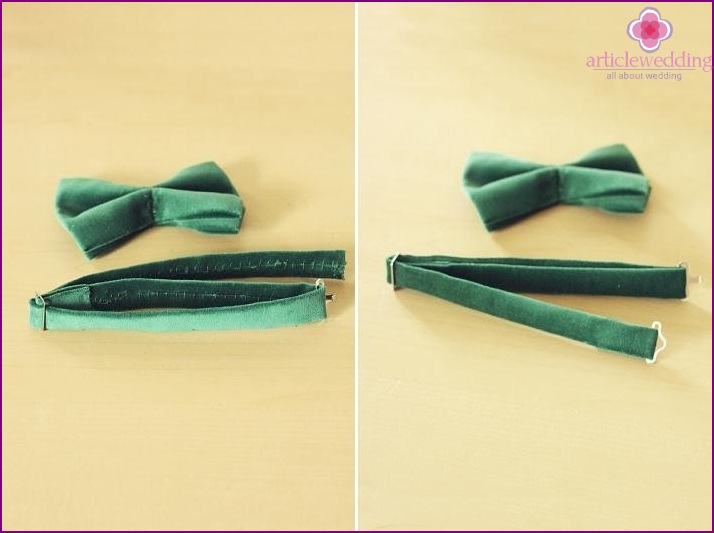
In this form, gently flip the bow tie, add a belt, connect the ends of the middle part of the bow tie, secure with pins. Sew together all the details.
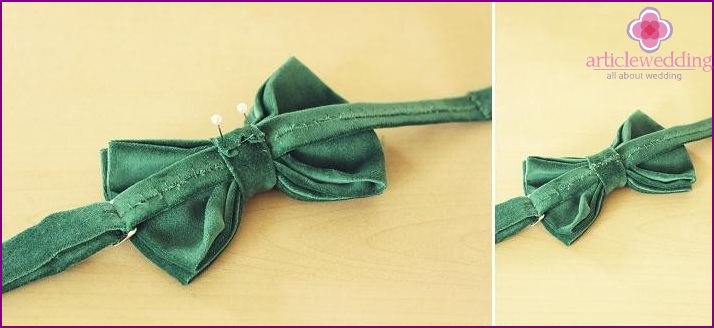
Now that the bow tie is completely ready, you can safely use it for its intended purpose.
Application options
A master class provided by the portal www.articlewedding.com on manufacturing an accessory for the groom - a green bow tie, can be used to create festive and everyday options.
You want the black and white classics - excellent, the pink-purple romance - great, all these and other images will help to achieve a fashionable homemade butterfly.
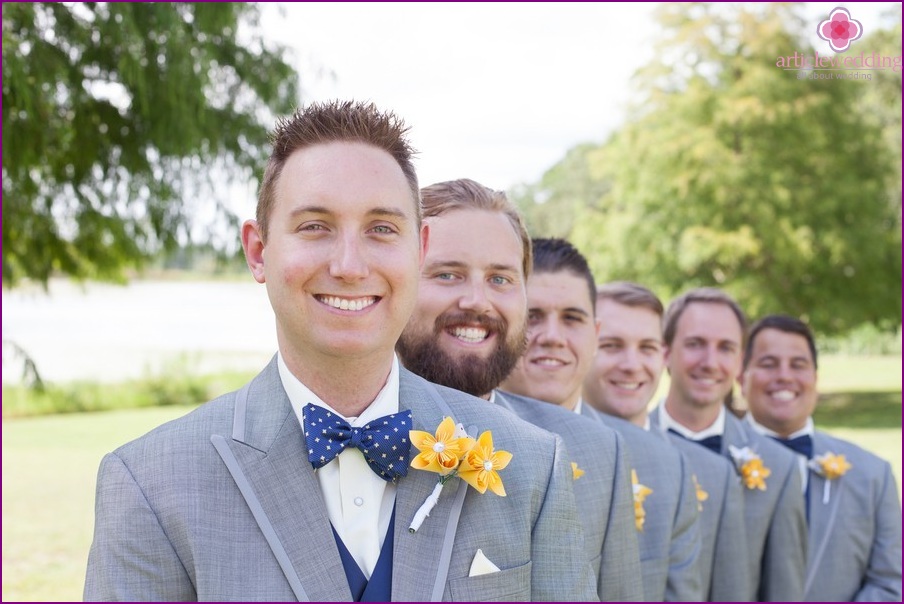


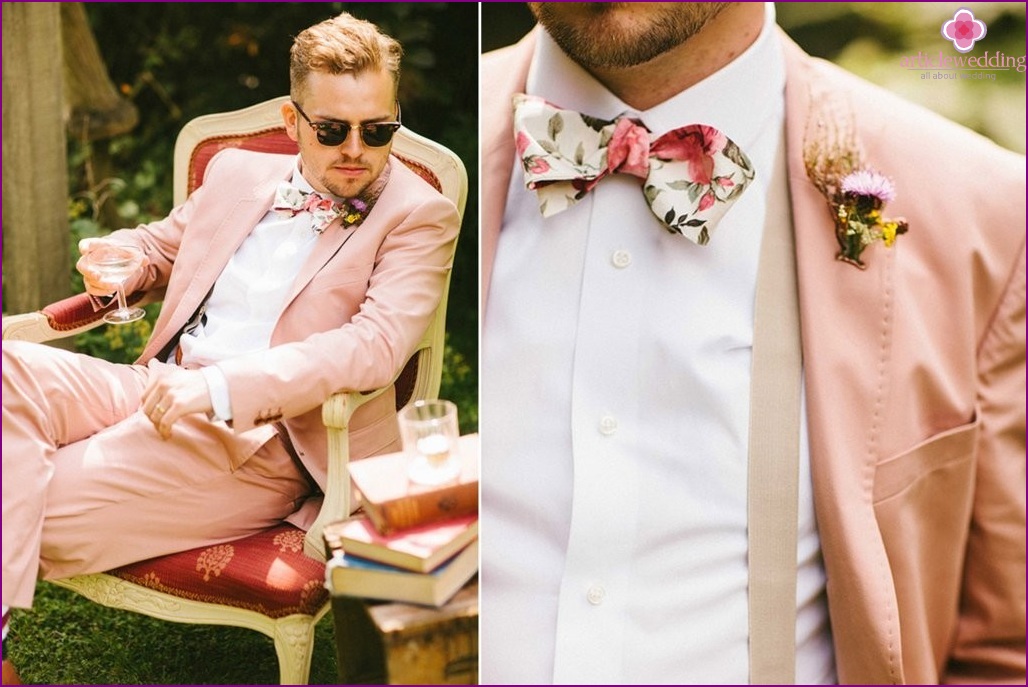
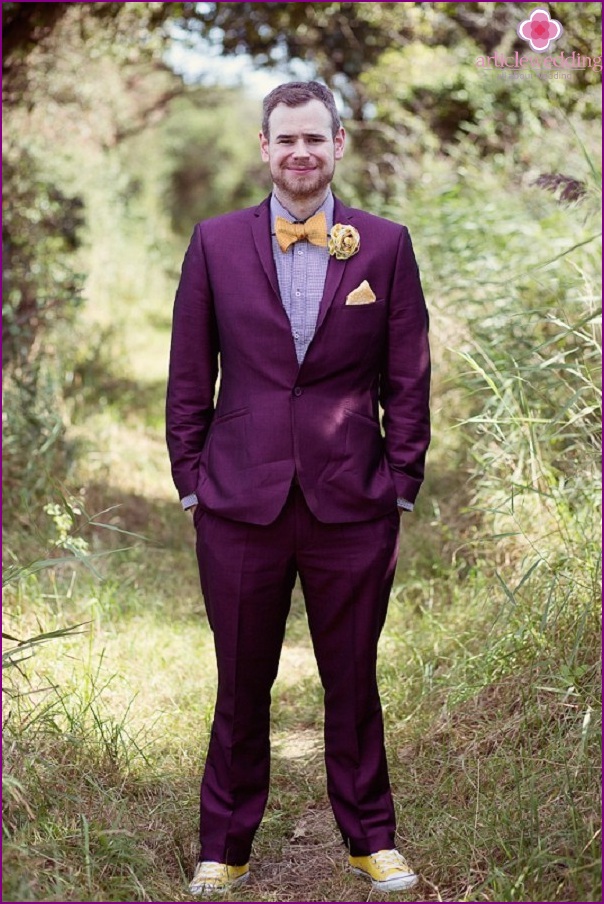

Try experimenting with the style, pattern, and texture of the fabric. Create vivid and catchy images!