Contents
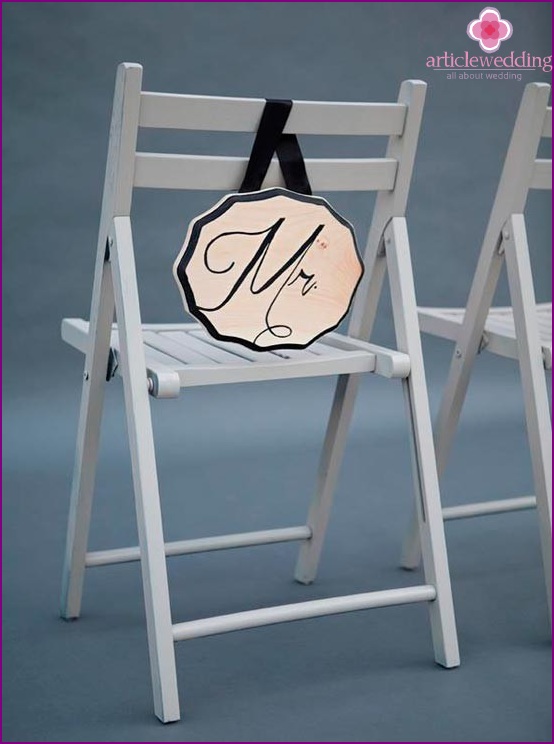
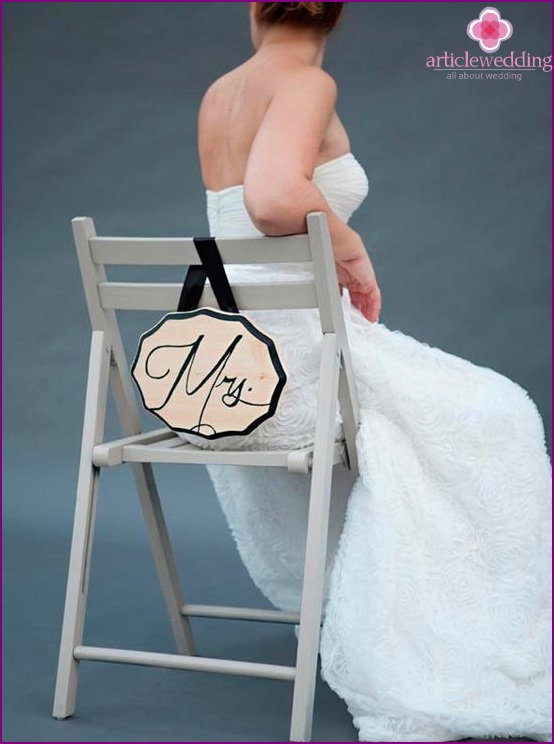
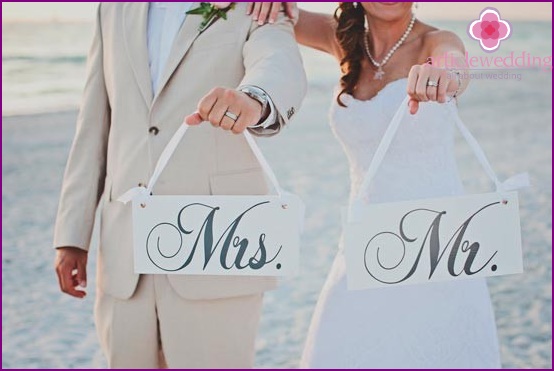
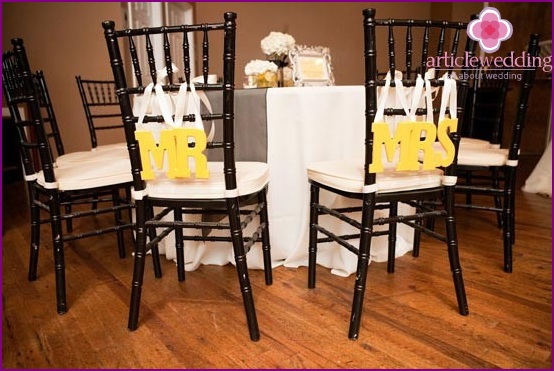
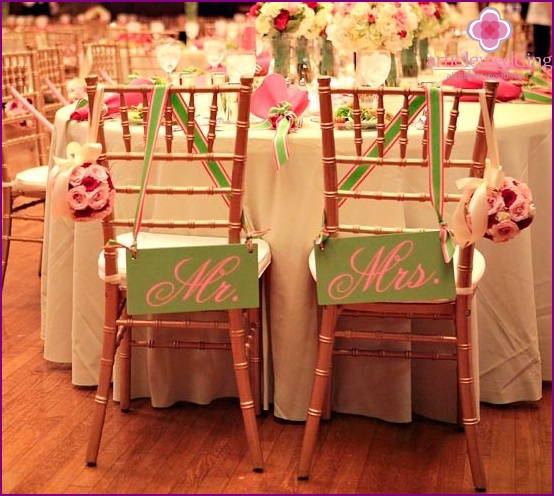
The wedding fashion industry is developing every day. Every day there are various ideas for decorating and improving the aesthetic component of a wedding celebration. One of these innovations was special plates that are hung on chairs to indicate the place of the bride and groom. Together with the decoration of wedding tables, they make up a festive composition filled with an atmosphere of romance and happiness.
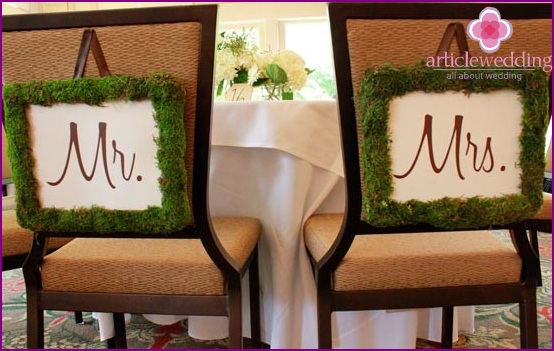
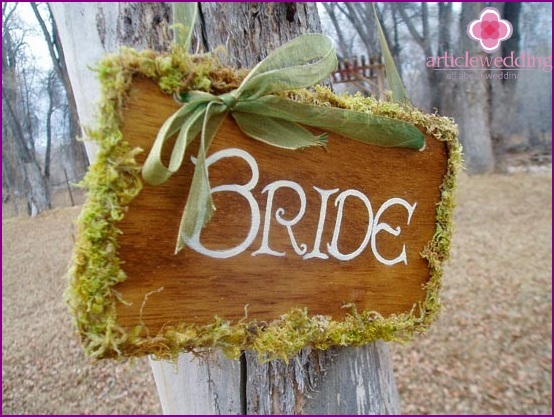
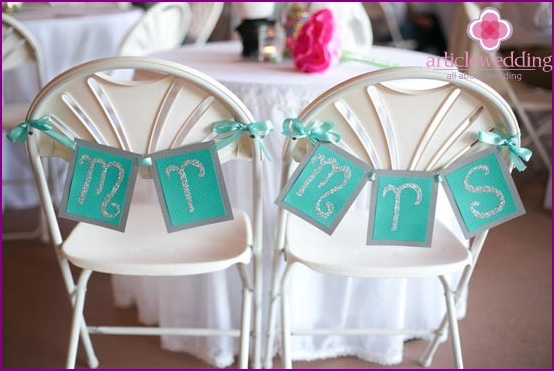
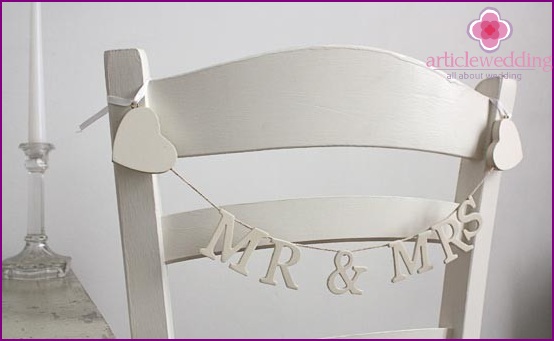
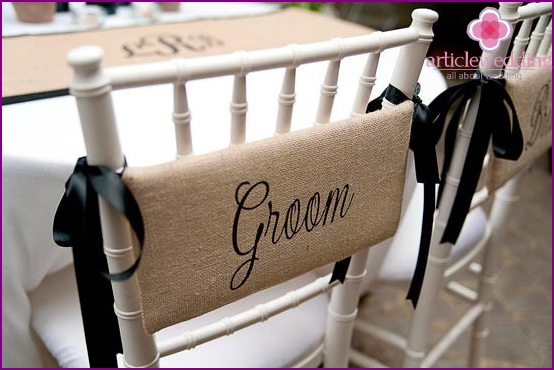
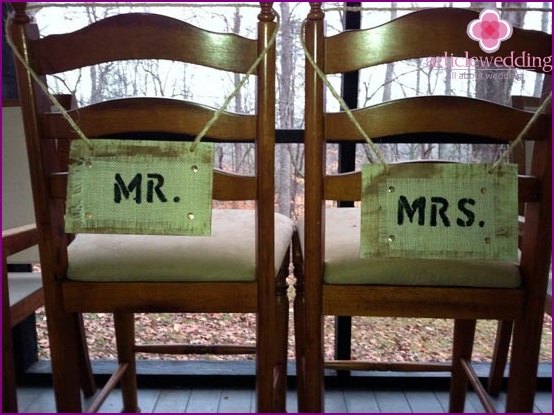
Chair plates can be made from a variety of materials using various accessories and additional decorations. You can make chic shiny plaques for a glamorous wedding or a more budget option - wooden plaques for a wedding in a rustic style.
The Internet portal www.articlewedding.com provides you with materials on which you will get acquainted with a very simple and entertaining project on how to make such wedding accessories for your wedding. Based on the step-by-step instructions, try to make identical plates in black and white colors..
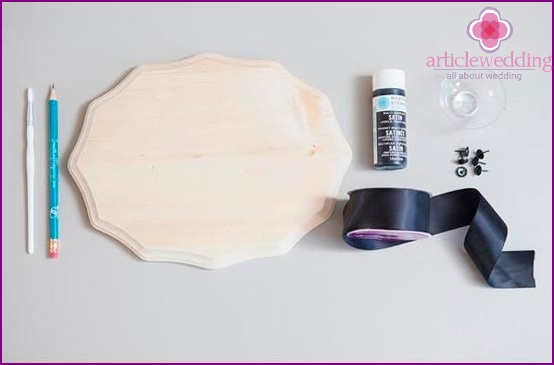
Materials and tools:
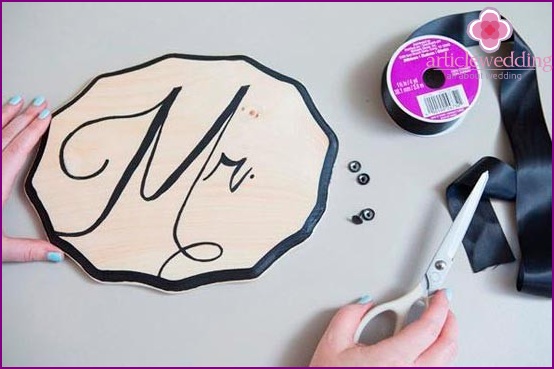
- wooden planks of any shape;
- pencil;
- art paint (black);
- brush;
- buttons
- satin ribbon;
- printed labels for tablets.
Time:
40 minutes (1 board, not including paint drying time).
Detailed instructions:
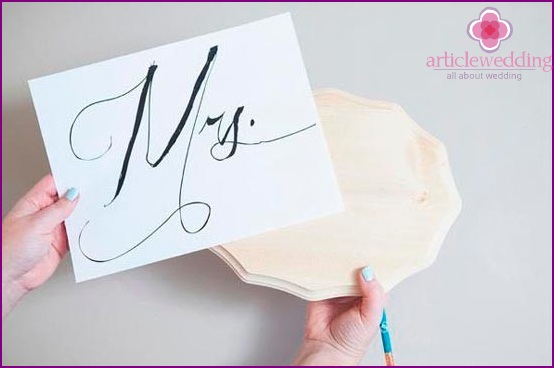
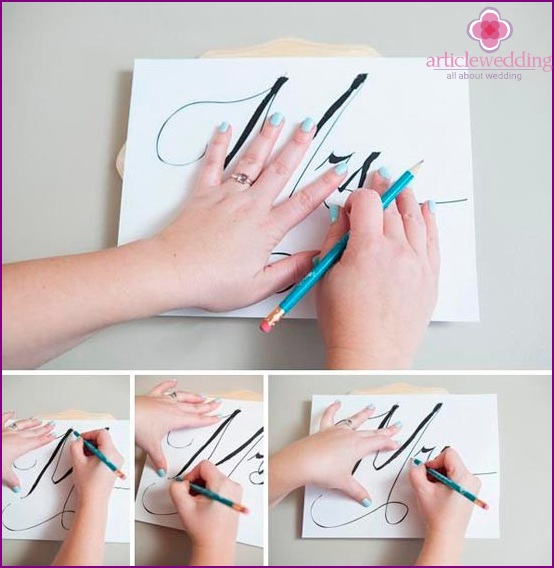
To begin your work, print on separate sheets of paper those initials, words or figures that you would like to use for your tablets (Mr., Mrs., Groom, Bride, etc.). Be careful that their size fits into the dimensions of the plates.
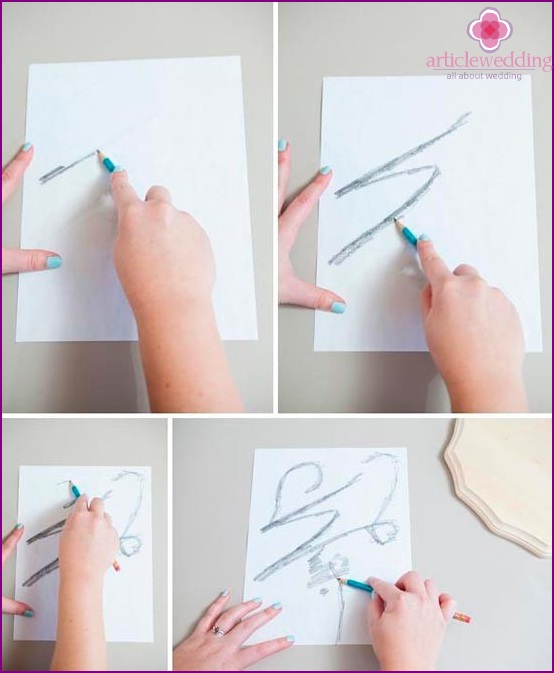
Turn over the printed pages and draw a translucent outline of your inscriptions on the reverse side with a pencil. For a good example, look at the provided photo.
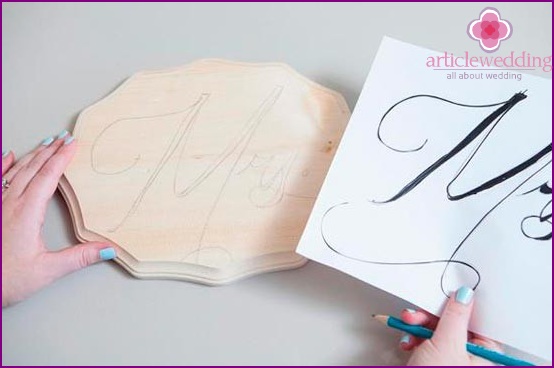
Next, carefully attach the side of the sheet drawn in pencil on the board and begin to draw letters on the front side of the paper. You will achieve the graphic effect of transferring letters to the surface of the plank. Look carefully at the photo instructions for this step..
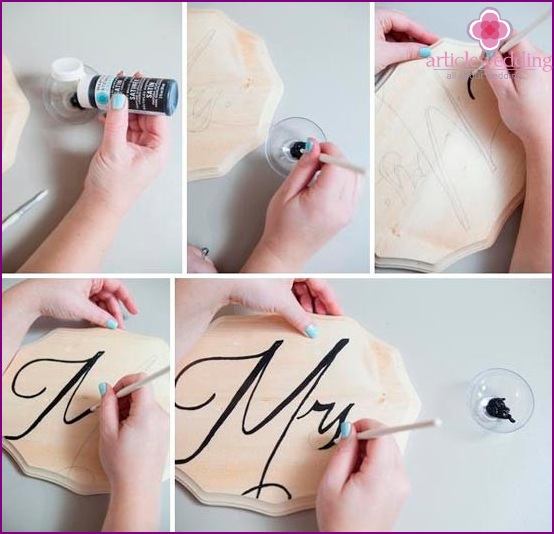
Now you can start drawing letters on the board with paint. Squeeze a small amount of paint onto the palette and with a brush slowly, slowly, paint over all elements of the inscription.
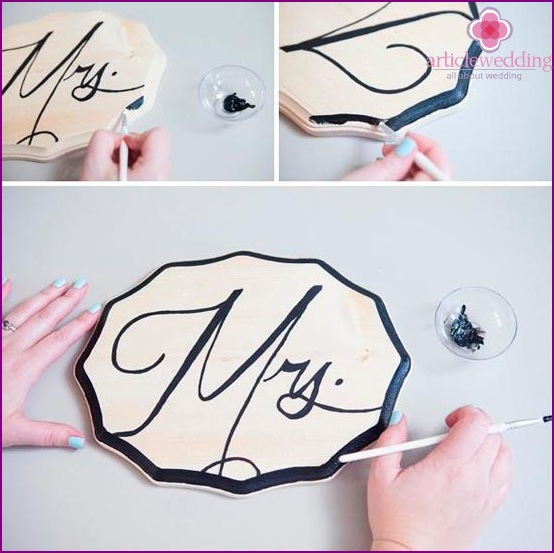
To give a more organic look, paint the edges of the plank with paint. Allow the paint to dry for four hours before proceeding to the next step..
Now you can begin to fasten the tape. Prepare all the materials necessary for this step: ribbon, buttons, scissors.
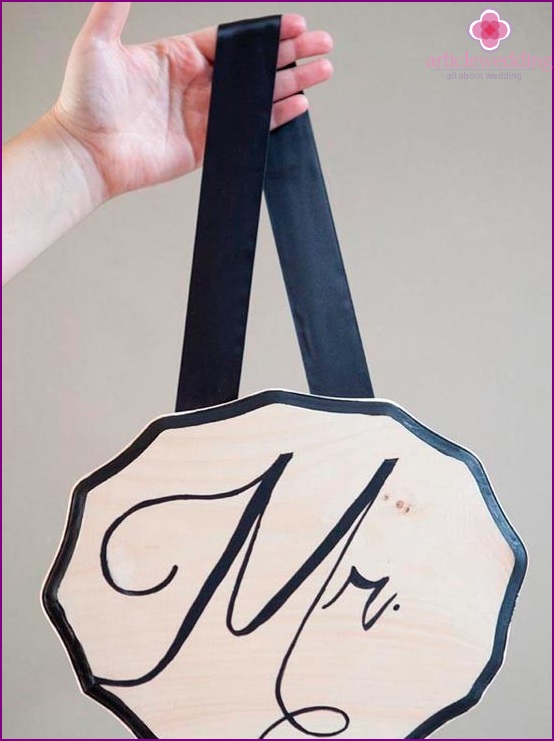
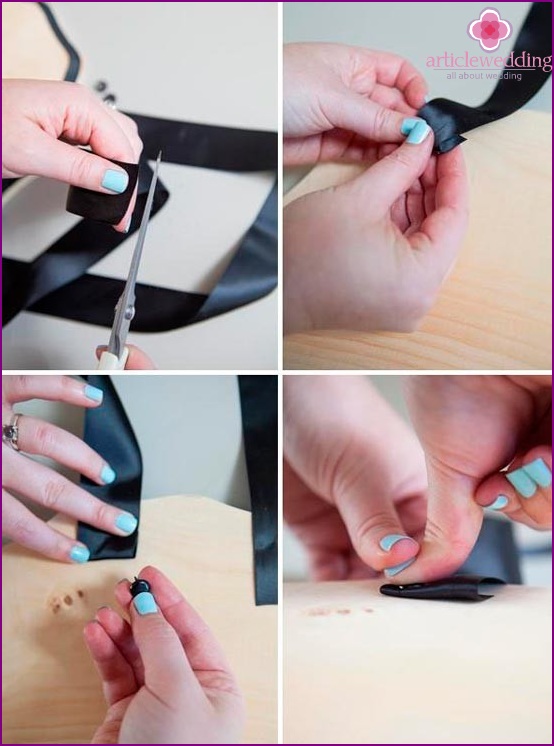
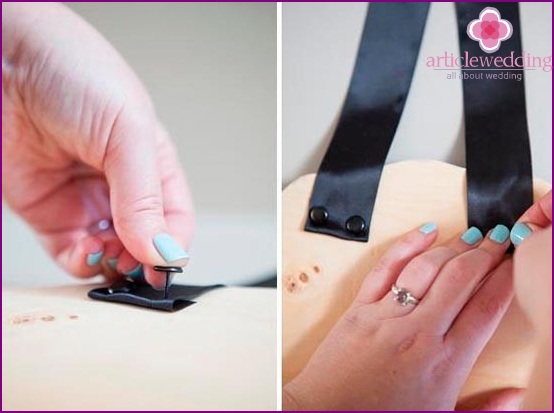
Cut the optimum length of the tape at your discretion. Fold one edge 0.5-1 cm and attach the tape with the buttons on the back of the board. Attach the second edge of the tape in the same way. We do the same with the second plank.
Finally, you can congratulate yourself on the successful completion of the work done! A beautiful wedding accessory in a very small amount of time.
Tip from www.articlewedding.com: Think about how you will hang signs on chairs in advance. The method of attaching the tape to the plate will depend on this.
Application options
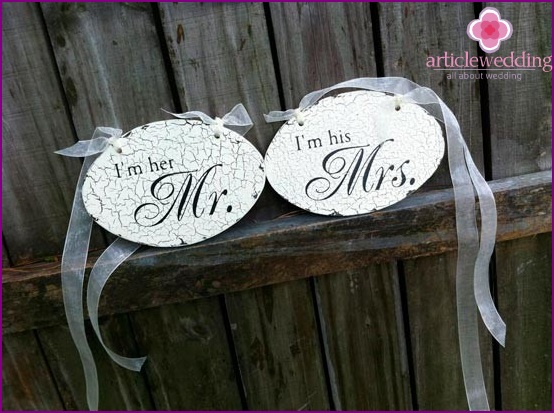
Based on the provided project, you can try new variations of elegant plates for chairs. This was just one idea for decorating wedding plates, and you can improve this master class and experiment on even more creative and interesting plates..
You can choose primitive plates printed on paper, or you can take a little time and effort to create, for example, a vintage version of plates with silhouettes of the bride and groom.
Moreover, in such a project, you can use fabric, slate boards, unusually decorated boxes. When creating a table for chairs, you can repeat the idea of designing pillows for rings. In general, this accessory requires careful development! Do not be lazy and think out the ideal option for you. Successful experiments!
